Custom events
We have introduced custom events to bridge the gap between automated shipment monitoring and real-world operational actions. This allows users to manually input events into the tracking process, enabling both internal and customer-facing communications.
Custom events give you the flexibility to define any shipment events that are unique to your delivery operations. These events are separate from what Track automatically maps across it's integrated carriers. By using custom events, you can streamline shipment tracking and trigger tailored communications to your customers impacted by these events.
For custom events to work, Track users must manually trigger the event to directly update the affected shipments. This is done through a batch process on the proactive alerts page.
To fully set up a custom event, it requires the set up of a few components in Track:
- Define custom event - Define what custom event(s) you want to add to Track.
- Create shipment event filter - Create an event filter to capture the custom event before bulk automation can begin.
- Create notification - Use the shipment event filter to create an email or text alert to your customers.
- Trigger custom event - Manually trigger the custom event to update the tracking status.
1. Define a custom event
Firstly, you must define a custom event type in Settings.
Go to Settings > Custom event types.
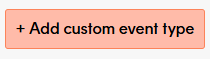
Select Add custom event type.
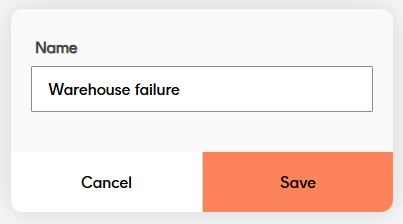
Provide a name for your custom event eg. Warehouse failure.
Note
You will not be able to delete a custom event type once you have an existing shipment event filter (step 2 below) that uses the event in it's filter criteria.
With your custom events defined, you can now use a shipment event filter to capture the shipments with this particular event.
2. Create shipment event filter
Once you've defined a custom event in Track, you can then create a shipment event filter that will identify the shipment(s) that might be affected.
To create a shipment event filter, go to Settings > Shipment event filters. Head over to our guide on how to create a shipment filter for more information.
Once you have a shipment event filter set up, you can use it to set up the notifications you want to send to your customers.
3. Create custom event notification
With a shipment event filter set up, you can then apply the event filter to your notifications (emails or texts) that will automatically trigger once an event filter is manually triggered.
To learn more about notifications and how to set them up, please follow our set up notifications guide.
The final piece to the puzzle is to manually trigger the custom event directly from the Proactive alerting page.
4. Trigger the custom event
The final step in the process is to manually trigger the custom event on to any shipments so a shipment event filter can trigger the automated tasks you've set up (e.g. send a customer email or webhook).
To do so, you must manually trigger the custom event from the Proactive alerting page. This will essentially trigger an update to the event_type of the shipments in the proactive alert and update them with your custom event.
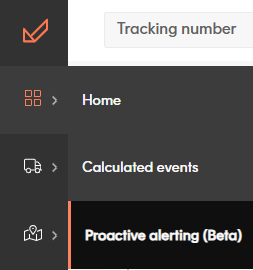
To trigger a custom event, hover over the dashboard icon and select Proactive alerting. For more information, visit our guide on proactive alerting.
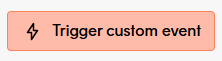
Once you’ve clicked an alert, you will see the Trigger custom event button that will add a custom event to all the shipments in the list of the proactive alert.
To trigger a custom event on a proactive alert:
Go to the amber or red shipments in an alert.
Select the Trigger custom event button.
This starts the manual process of updating the shipments in the list with the custom event you've previously defined.
Select from the drop-down the alert you would like to apply. If you don't see any alerts, make sure to define them in settings > custom event types
Any shipment event filters you've set up to handle the custom event will then filter and automate any relevant customer communications or internal alerts.